The 9 step process I use for my Brand Design Service
Getting your brand identity or website designed is a big step. It is not only very exciting but probably also a bit scary because of all the money that you are spending.
If you are anything like me, there is a lot of research that goes into a project like this. Figuring out the brand design process, the costs, how to pick the right designer.
Every designer will have its own brand process, packages, turnaround time and terms and conditions as well as their own design style.
So, today I wanted to share more about the steps I use to design your brand identity.
This way, when you decide to work with a designer, you already know what to expect. But you can also use these steps when you want to DIY your brand.
Update: I don’t offer brand design anymore but if you’re looking for more information about the process this blog will still be helpful.

Let’s Get to know each other
When you have filled in the contact form with some initial questions I will get back to you within a day to schedule a call. We start with this to get to know each other better, discuss what is going on in your business and why you are looking for a designer.
This could be because:
You just started your business and want a visual brand to get it out into the world.
You already have your business for a while and DIY-ed your brand. But your business has grown over the years and your brand identity does not match anymore
You are not selling/attracting dream clients
You are not sure how to reflect your expertise into your brand
Welcome
When we decide to work together there are first a couple of formalities like a contract but after that, the fun will begin.
Start getting excited!
We start with some homework in the form of an in-depth branding questionnaire. I know - homework does not sound like much fun. But this phase is so important to avoid surprises later on and to get on the same page. We both don’t want to be at the first concept presentation to find out that a clean design means something completely different to both of us.
Some of the questions are:
Tell me about your company like we just met
What is the mission and vision of your business
What are your personal and business goals? What are the deadlines?
What do you want your brand to represent?
What products/services are you selling? What would you like to in the future?
What is a competitor you admire?
Is there something from a competitor that you absolutely do not like?
What colours are you drawn to?
Do kind of fonts do you like? (don’t worry I included some examples)
The more information you provide, the better I get to know you, your business and your struggles, the better your brand will fit your business.
This is also the case when you design for yourself. Don’t skip these steps because your brand will soon start to feel like it does not fit your business.
When you have filled this is we hop on another virtual date; the Brand Strategy Call. We start discussing the project in more detail. I will use your answers about your style, goals for the brand design and business to talk about what the desired results are of the project. We will go over the deadlines and the feedback process.
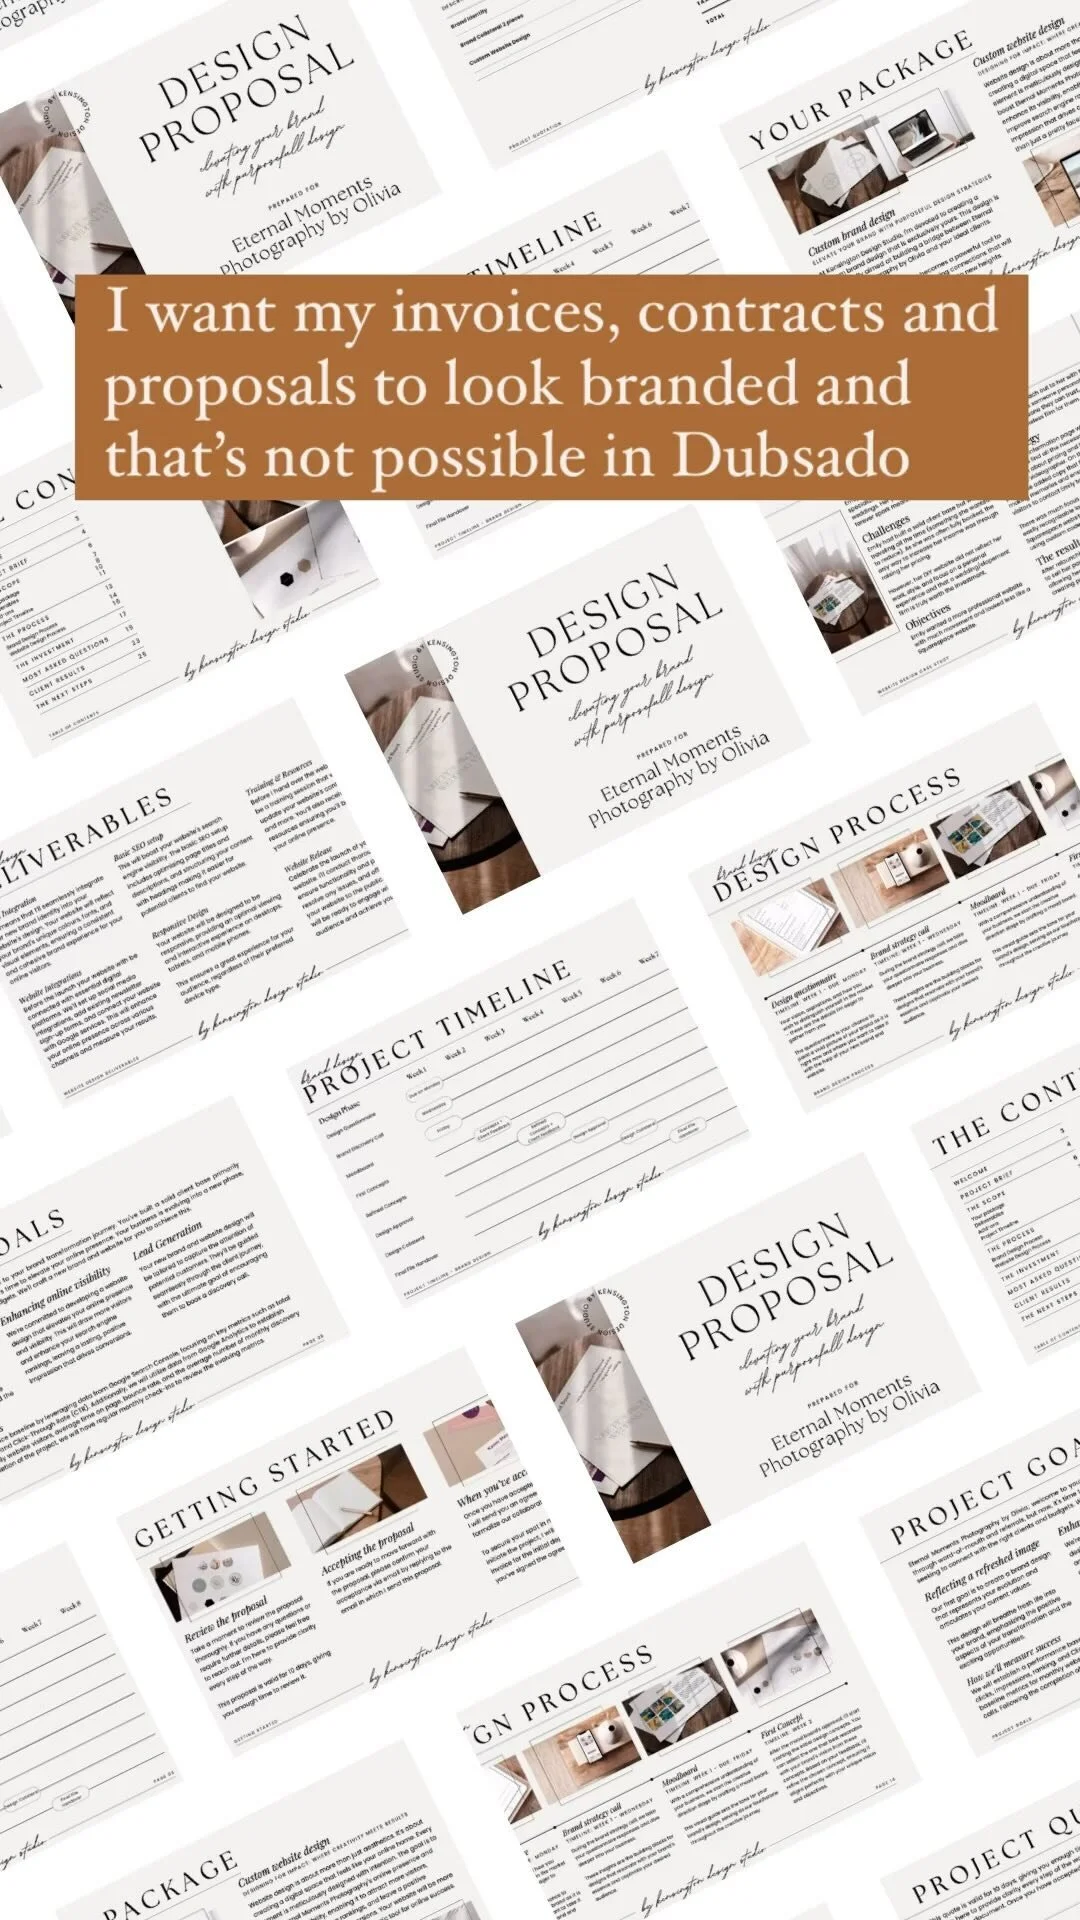
After the call, you will receive your welcome magazine with an overview of the brand design process, deadlines and the goals we have set together based on our call and the Brand Strategy questionnaire. It will also give information on how we can stay in touch during the project and an explanation of Dubsado, what I use as my CRM system.
I love using Dubsado as it keeps everything from questionnaires to contracts & invoices to emails and approved concepts in one place.

Example of Dubsado Client Portal
Week 1: Research
Once we have done the Brand Strategy Call the research phase starts. As part of the homework, I ask you to create your own inspiration board. In the welcome magazine, I have included some tips and tricks for creating this. One thing I would advise, which also applies when you DIY your brand, is to not include images of existing brands or logos.
I did this for my own brand and found that you start comparing/copying instead of creating your own personal brand.
I will use this board and all the information from the call and the Brand Strategy questionnaire to research your style by visiting your website (if you have one already) or your social media accounts. This will give a good idea of your brand voice and the followers you are attracting. I will also have a look at your competitors and others in the same field to get a good understanding of the market.
Then I start collecting images which can include anything from images, colours, text, textures that relate to the keywords we came up with that would represent your brand well.
After the initial selection, I will go back and look for similarities between the images. This can be elements, colours of a certain look. From these images, I will select a couple that will be combined in a mood board that shows the overall look and feel of the brand. You will get the chance to give feedback and based on that adjustments can be made. It is better to make these adjustments in this stage than later on.

One advise I would like to give is that although the board will be a guide during the rest of the project don’t get to hang up on the details of the mood board. It indicates the direction but does not mean that everything is already set in stone. Or that because there is a pink pillow in the board this will automatically will be included.
Don’t skip this step when you are designing for yourself as it will be a great reference to come back to during the whole process.
Week 2: Initial logo design
When the mood board has been approved I will start working on the initial logo design. There is a lot of brainstorming and sketching on paper involved in this step. I don’t like to start directly in Adobe Illustrator because it gives less freedom to create a lot of ideas.
Then I will step away from the process for a while as this helps to have a fresh look at the concept. From all these sketches 3/4 ideas will be chosen and created digitally and presented to you.
This presentation will include all 3 ideas in black in white and in general, each concept has 2 additional variations. I will also explain the reasoning behind all element. This shows that everything in your logo in there for a reason.
I know it can be tempting to want more concepts but in general, this will only cause a lot of doubts and make the choice harder
When you pick the grid option you can make a grid with your posts the same way you can do with images. You can set the number of posts you want to show per row, change the space in between the thumbnail images, the ratio of the images.
When you go for the stacked option you will have 1 blog post per row and you can adjust the size of the images and if you want to have a line in between the images to separate them.
If you choose to use it, then the title and the excerpt of the post will be below the thumbnail image. You can also add a read more link, name of the author and date of the blog post here as well.
Feedback
You will provide me with feedback on the initial concepts. And I want to elaborate a bit on this part as there are several ways of giving feedback and some are more helpful than others.
The goal of this step is to get your opinion about the presented concepts and like with the questionnaire, the more information the better. Which concept do you like most? Why do you like this one the most. What do you like about the other 2 concepts and what don’t you like.
Be honest with your feedback and make sure it is your feedback. I know you would like to share the designs with family and friends and get their opinion. That is absolutely fine but I need to hear your opinion.
Design is very subjective and everyone will have an opinion about it. But no-one can judge if a logo is the right one for you but you.
The feedback also needs to be specific. Feedback like ‘I don’t like it’ makes it very hard for me to make adjustments. Is it the font, the element, etc what you don’t like. The more specific the better I can make adjustments.
In general, these revisions are slight font changes, change in letter spacing, rearranging elements. And we will go through a maximum of 3 rounds of revisions.
Week 3: Additional design
After the initial logo is approved we will start working on the main logo in colour as well as the alternative logo’s, submarks, patterns and other brand materials as was decided on forehand. This can be anything from icons, call to action buttons, website graphics, business cards, social media banners to social media templates.
With the initial main logo concepts, I will only send black and white options. This is because it is really easy to get distracted by the colours. You might reject a concept because of the colours or combinations while you do like the underlying design. And as a logo needs to work in both black/white and colour I start with the black/white version and add colour in a later stage.
From here we will also work on the colour palette. I will send you several options and you can give feedback on the palettes. Based on this feedback adjustments will be made and the final palette will be decided upon.
The alternative logo’s and submarks are a variation to your main logo but generally a bit smaller and in a different shape. So it could be without the tagline, an icon, or horizontal instead of vertically stacked. This to make sure that whatever you need to brand you have something that can fit best for the space you have or shape you need like something round for profile images or a smaller version of your logo for a notecard.


Week 4: Bring it together
After the final adjustments are done all parts of your brand are combined in a brand board.
This is quite a quick process because of all the work we have already done but it is a great way to have one clear overview of all your brand materials like your logo, the variations, the colours and fonts.
Besides this, you will get guidelines on how to use your new brand via the style guide.
When you are designing your own brand I would also suggest creating this brand overview because it is so easy to go back to with everything you are branding to sure everything is branded consistently.

Let’s launch
All brand elements will be formatted in several file types and sizes before I send them to you. All files will be organised in a Dropbox folder that I will share with you as there is no way to send it all at once. From this folder, you can download all the files. Be sure to make a back-up of these files on your computer or external hard drive.
What you will receive:
Moodboard in JPG
Main logo and all variations in Ai format (Adobe Illustrator)
Main logo and all variations in High Res Transparent PNGs (there is no background on these images. So you can overlay it on anything)
Main logo and all variations in EPS
All files intended for print in PDF
Textures and Patterns in JPG
Brand Board and Guidelines in JPG
Before you launch we will run through some ideas on how to launch your brand.
Celebrate!
Whoop whoop! You have done it! All that hard work has paid off and your brand is live. Take a moment to take this all in.
Feedback and testimonial
The final step in the process is to ask for feedback on the whole process to make it even better for the next time. I will write a blog post about your brand and link to your website or social media. And I will ask for a testimonial to include in the post.
The main takeaways are;
Have a general idea of what your business and brand is about before you hire a designer
Make sure you have enough time during to project to look at the concepts and give feedback. Throughout the whole project there are several feedback rounds and to keep the project on track and within the timeframe, feedback needs to be on time
Be honest and specific when giving feedback to make sure your brand really fits well with you and your business.
Branding is 80% strategy and 20% visual design so if you’re struggling with the visual design of your brand be sure to go through the Brand Foundation Series or download the Brand Clarity Review below to review your overall strategy to see what you have in place, what needs work and what you can do to align it even more. So that you can then create a visual identity that helps you attract your ideal clients.


If you thought this post you might also like:


LOOKING FOR ANYTHING?
popular in the shop


FOLLOW ON INSTAGRAM


favourite
resources
*Below links are affiliate links and I get a small kickback if you use these links to sign up