How to streamline your brand or website design client process
Feeling like you're reinventing the wheel with each client project? Writing emails on the fly, dealing with inconsistent processes, and falling short of the client experience you aspire to?
What you really need is to streamline and elevate your design workflow. Now, I know "streamline" might sound a bit corporate, but trust me, we're not delving into complex systems here. I'm talking about practical tweaks that can save you time, stress, and maybe a few extra cups of coffee.
The goal here isn't just efficiency for efficiency's sake.
We'll delve into some straightforward strategies to establish clear boundaries, set expectations, and make your workflow smoother – ultimately leaving your clients happier.
Step 1: Why you should start outside of your systems
Step 2: How to evaluate what is working in your client process and what isn't
Step 3: How and why to prepare for the not-so-ideal situations
Step 4: Test your new client process
Step 5: How to set yourself up for success

Step 1: Start outside of your client & project management systems
When you think about streamlining your client process, you might want to dive straight into your client or project management system and tweak your workflows. While client and project management systems, along with automated workflows, are essential for streamlining your client processes and delivering a top-notch experience, they're just one piece of a more comprehensive puzzle. This piece falls into place effectively when all the other components are clearly defined.
Let me break it down.
Think of it like working on a client's website project. The website's development is the final piece of the puzzle. Before delving into website design, you must thoroughly grasp the client's brand – their identity, target audience, and unique selling points. These are the essential pieces forming the larger puzzle.
Then comes the planning phase; you structure the website, gather visual elements, and map out the user experience. Only after meticulous planning can you progress to the actual design and development.
In essence, the success of the final website hinges on the careful definition, planning, and execution of all preceding elements.
This is the same for streamlining your client processes. The client and project management systems are most effective when they complement a well-defined and seamlessly executed overall process. So, the first step is to start outside of your systems. Grab a notepad and a pen, or use a whiteboard tool like Miro.
List your client process steps: Jot down every step involved in delivering your most common package or service, starting from initial client contact to feedback at the project's end. Cover each phase, regardless of how routine it seems.
Include small steps: Pay attention to the small tasks done without much thought. These could be critical yet easily overlooked aspects of your client process.
Note potential changes: As you go through the list, jot down any ideas or changes that come to mind. These could be improvements, adjustments, or things you'd like to streamline.
Keep the list handy: Keep this list on your desk while working on client projects. As you go about your work, add to the list when you come across additional steps or nuances in your process.
An important consideration while working on this: Always build a few steps ahead.
Building processes and systems with a few steps ahead in mind anticipates your business's growth. It creates a foundation that seamlessly accommodates an increase in clients, projects, or complexity.
This proactive approach reduces the stress of reorganizing everything when more clients come in, allowing you to focus on delivering quality work instead of grappling with logistical challenges. While it might take a bit more time initially, investing time and effort upfront to build robust processes pays off in the long run.
Step 2: Evaluate what in your design client process is working and what isn't
Now that you've got every step written down, take some time to note the elements your clients appreciate about your process and the issues you've encountered in past projects. But before delving into the list of elements to review, consider your role in the process.
In design, it's not just about the final result; the journey matters as it influences the quality of the end product. As a designer, you're not merely creating a deliverable – you're a creative partner, aiding clients in solving more extensive business challenges.
I did see that eye-roll 😉
You might not see yourself as a problem solver. But take a moment to reconsider – every design decision you make, every pixel you place, it's all contributing to a solution for your clients. Your design isn't just a product; it's a strategic tool capable of transforming businesses. Remember when I mentioned building your processes a few steps ahead?
I encourage you to shape your processes with confidence in your role as a guide and problem-solver. As you observe how clients respond, you'll start believing it yourself.
While going through the list below, think about how you can demonstrate to clients that you're there to guide them through an exceptional design project. Can you add more emails for updates or to explain the next steps? Do current emails need more details? Does your proposal reflect your problem-solving approach? Do you have a welcome guide?
Here is an overview of elements you can review:
Client Feedback:
What clients love: What do they mention in their feedback form they enjoyed most? And think about how you can do more of that. Is it just that additional email with a quick update on the progress? Or a quick video walking them through the latest update you made on their website
Areas for improvement: You always want to include a question in your feedback form about what could have gone better. Review these answers and see if there are any patterns in your client's constructive feedback.
Timeline Adherence:
Timely deliveries: Did you have any projects where the timelines were met without having to work evenings and weekends? Why do you think this was possible for this project? Was it because you did something different? Was the client just really prepared and made sure they had enough time to provide feedback quickly?
Delays and challenges: Next, consider the projects that had an extended timeline. Can you find a cause for this? What could you do differently next time? What does the client need to keep to the timelines? More support, clearer overview of deadlines, more reminders?
Communication Effectiveness:
Clear communication: Did you have any projects where you felt valued by the client? For which projects did the communication feel easy? Was there anything that stood out from this project or the client that made this possible?
Client questions: Review the email from past projects; which questions did clients ask? Where could you have been more clear on the next steps or changes in the project? Did you need to give more updates?
Client Preparation:
Pre-project requirements: How well do clients adhere to pre-project requirements (e.g., questionnaire submissions, content delivery)? Can you pinpoint a type of client that does this well or one that doesn’t?
Impact on Timelines: Identify how much impact this has had on timelines. How did you respond to clients not having their pre-project requirements done on time? Should you adjust your policies for this?
Whatever came up while reviewing the above elements, just list it as parts of the process that need to be updated to either delight your clients even more or what you need to improve to be prepared for the next time it happens.
Step 3: Setting boundaries and expectations
Besides adding elements like a welcome guide, additional emails, or support videos, one thing we can do to create a smooth and streamlined client process and face fewer issues along the way is to set clear expectations upfront. You can do this in a welcome guide (you can find a welcome guide template in the shop) or a welcome email. Here’s what you want to include:
The Project Details (brief, package, deliverables & timeline)
This section brings all the details of the project together. While your client is familiar with your packages and what is included, it's important to ensure that the welcome guide or email is a reference point throughout the process, so it makes sense to include these details.
Your packages and deliverables can be copied from your website or your proposal. But you want to take some time to write out the project brief, summarise the client's goals, and record any metrics that will allow you to measure the design's success.
For the project timeline, include specific milestones and deadlines to give your client a clear picture of how the project will progress.
It's no secret that keeping clients to timelines can be challenging. Therefore, it's wise to include a section that underscores the importance of staying on track and addresses the consequences of any potential delays. This proactive approach can help manage expectations and keep the project running smoothly.
The Design Process
You can outline each stage, beginning with the brand discovery call and creative direction, moving through the brand or website development, and ending with the final delivery. It's good to also touch on the practical aspects, detailing the methods and tools involved at each stage. This includes mood boards, wireframes, mockups, or feedback questionnaires.
But what truly matters in this section is client input and feedback guidelines.
It's vital to explain the client's responsibilities at each stage, how their input is pivotal in shaping the design, and how the feedback process works. If you want to include feedback guidelines (which I highly recommend), you can do that here and reference this when sending designs for feedback.
Getting started
Now, let's focus on how to get the project rolling. In a "Getting Started" section, you'll provide the client with clear instructions on the initial steps they need to take.
Here's what I suggest to include:
Instructions: Start by giving detailed instructions. Explain what the client should do to kickstart the project. This is most likely filling in a questionnaire, booking a call, or writing their copy.
Link to the questionnaire or calendar: Include a link to the questionnaire or the scheduler you use and by when they need to do this. You want to keep the momentum going, so if you want to complete the brand discovery phase in the project's first week, show this in the timeline and mention it again here.
File Sharing: Let the client know how file-sharing tools like Google Drive links or any other similar platforms will be used for document sharing and collaboration throughout the project.
Educating the client about these initial steps helps smooth the project.
Communication
In the "Communication" section, you'll want to establish a solid framework for how you and the client will interact. What to include:
Primary communication channels: Start by outlining the main communication channels between you and the client. You can say something like; During your project, we’ll communicate via email, and you can always expect a response from us within one to two business days. Next to that, we'll use Zoom for our meetings as outlined in the timeline.
Availability: Specify between which hours you are available and within how long they can expect a reply from you.
FAQ
The final section is an important one that can help minimise uncertainty for your client. You want to put yourself in the client's shoes and anticipate the most common concerns and issues that they might encounter during the design project. You can cover topics like billing, change requests, project scope, and what to expect during and after project completion.
But while you have set the expectations before the project, this, unfortunately, does not mean you won't run into any issues anymore. So let's make sure you're prepared when it does happen.
Step 4: Prepare for the not-so-ideal situations
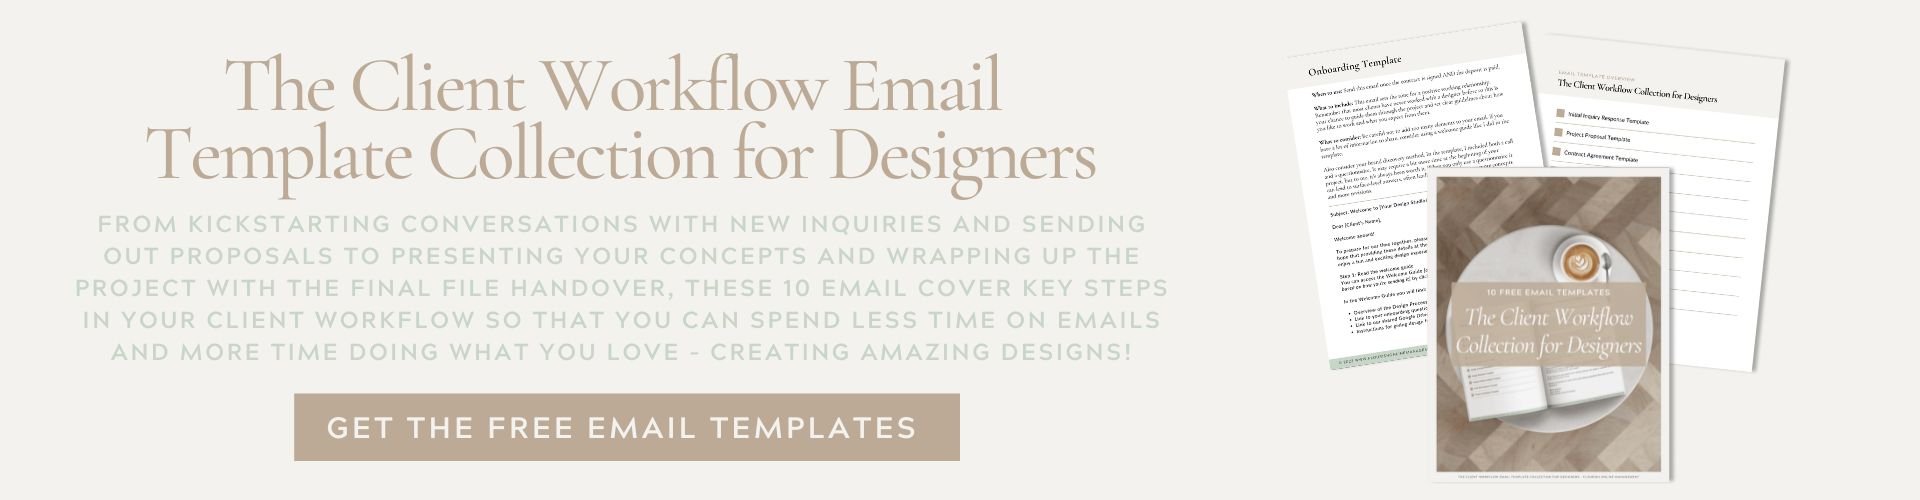
Facing challenges in client projects is not the most enjoyable aspect, but it's a reality. There will be issues with clients, often small ones, but occasionally, something might not go as planned. To navigate such situations, having personalised email templates in place can be a valuable asset.
Preparing these templates in advance means you won't find yourself crafting responses from scratch in the midst of emotions when something goes wrong.
Emotions can impact our reactions, and we might handle things differently than when we take a step back. By having pre-prepared templates, you can remove the emotional element, ensuring a thoughtful and composed response. It's a practical strategy to handle unexpected hiccups in client projects.
Situations you want to cover with email templates:
Email to confirm a rescheduled or cancelled appointment and the possible impact this has on the timeline.
Payment Reminder - You can think of a sliding scale here. The tone in an email reminding a client of an invoice that is 1 day late is quite different than when it is 7 days late. Be sure to include the consequences of not paying the invoice, such as not receiving the final design files or postponement of the project.
Refund confirmation - response to a refund request. One email for when you do honour the refund and when the refund will be done. And one option when you decline the request.
The questionnaire is not filled out on time - here, you can think of a similar approach to the one above in regards to the payment reminder and the sliding scale.
Just checking in - when you need to check back on a project or are awaiting the client to give a response.
Proposal follow-up - If you have sent a proposal and you have not heard back. Again a situation where you can include a sliding scale, especially when your proposals are only 5, 7, or 14 days valid (which is something I would advise)
Contract changes or cancellations - Here, you want to have an email ready with the points in your contract that are about changing the contract, postponements, or cancellations, so you don't have to search for them. Next to that, it's up to you if you want to meet a client halfway or not. So, have some content for both situations.
Scope Creep - We know this happens, so you want to have a clear policy in place to handle this. If you have 2 refinement rounds included in your contract and they are asking for a third, this is the email you would send, including the additional cost for it.
Related posts: Do you feel you’re often not working with your ideal clients? The 2 main things that can be improved to reduce these frustrations are improving your client qualification process during a consultation call and your qualification process before they book a consultation call (aka how to attract more ideal clients).
Now, we've got you covered for a lot of different situations, let's test your whole design client process.


Step 5: Test your new design client process
There are two practical approaches to testing your updated design client process. Firstly, you can keep it on paper and walk through all the steps with a new client, making adjustments as needed before integrating it into your systems.
Alternatively, you can implement it as is but set your workflow automation to 'needs approval.' This ensures that emails or forms won't go out without your confirmation. This method allows you to gauge the impact of the changes on a manageable scale before applying them across your entire client base.
Post-project completion, consider the following:
Get client feedback: review your feedback questions to check if these questions will give you the answers you need to know to evaluate if your elevated workflow also feels this way for clients. After the client has provided feedback, write down things that can be improved for the next project. And don’t forget to celebrate if the client is really happy, as it shows all the hard work is starting to pay off.
Evaluate timelines: Assess the timeline you established in your refined workflow. Was it realistic, and did it allow for the delivery of high-quality work? Identify any potential bottlenecks or points where the project stalled. Adjust timelines as needed to strike a balance between efficiency and excellence, ensuring a smooth and feasible project schedule for both you and your clients.
Check communication channels: Did the client keep to the communication channels you laid out in the welcome guide/email? Did they respect the hours you work? Based on feedback and your own observations, make adjustments to communication methods and guidelines if necessary.
Assess workflow automation: Evaluate the impact of the automation on your workload and overall efficiency and check if you can add more steps to your workflow. The goal is to enhance efficiency without sacrificing the quality of your design work. Which steps do you feel confident enough to remove ‘needs approval’?
Reflect on the overall experience: Take a moment to reflect on the overall experience of the pilot project and the changes implemented in your workflow. Consider the impact on your time management, stress levels, and the quality of your work. Use this reflection as an opportunity to make final adjustments to your workflow before extending it to all your projects.
Iterate and improve
Apply lessons learned from the testing phase to continually refine and improve your workflow.
Don't stop after a few tests; incorporate a recurring task to review workflows at the end of each project. This ensures that valuable insights are documented and used for ongoing enhancements to your business processes.
AND THERE YOU HAVE IT
Please remember that it's not about revolutionising your entire process overnight. Often it's the small tweaks that can make the difference.
A question I like to ask when working on my processes: how would I like to be treated if I were the client?
Would I like to be ghosted and left wondering if the service provider I spend a lot of money on is actually working on my project? (something I genuinely wondered after hiring someone).
If not, check if anywhere in your process you have a gap in communication with the client that could make it look like you were ghosting them.
It could be as simple as adding a progress update email.
You've got this!
Stephanie
Want to start using Dubsado?
Dubsado offers a free trial for 3 projects and if you sign up with my Dubsado referral code you get 20% off their first month or year!
If you thought this post you might also like:


LOOKING FOR ANYTHING?
Popular items in the shop


FOLLOW ON INSTAGRAM


FAVOURITE RESOURCES